Ploopy Trackball Nano
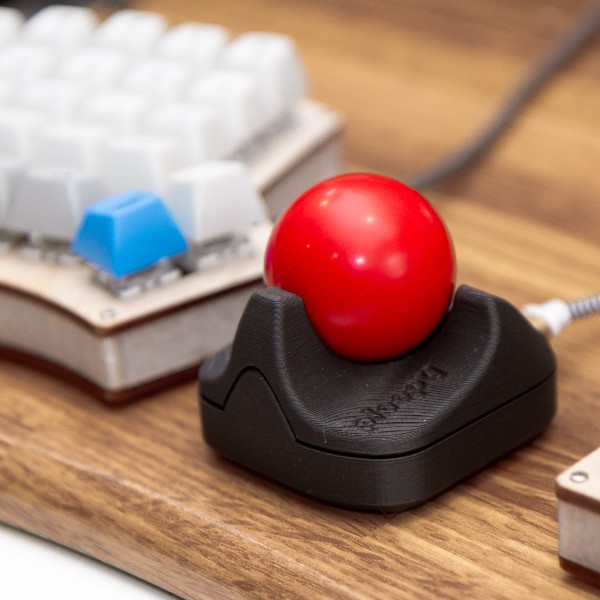
It’s a DIY, QMK Powered Trackball…Nano!
- Maintainer: PloopyCo
- Key contributors: Drashna Jael’re, Germ
- Hardware Supported: ATMega32u4 16MHz(5v)
- Hardware Availability: Store, GitHub
Make example for this trackball (after setting up your build environment):
make ploopyco/trackball_nano/rev1_001:default:flash
make ploopyco/trackball_nano/rev1_001:via:flash
See the build environment setup and the make instructions for more information. Brand new to QMK? Start with our Complete Newbs Guide.
Hardware Reset Button
The Ploopy Nano has a handy bootloader reset mechanism: two via pins
on the board, designated by the reference designator
MCU.J.X BOOTLOADER. If you stick an uninsulated paperclip
or a pair of metal tweezers into both holes and plug in the Nano, it
will start in bootloader mode.
Revisions
Occasionally, new revisions of the PCB will be released. Every board
comes with a designator that looks something like
R1.001.
Match the firmware that you flash onto the board with the designator on the board.
Fuse settings
When flashing the bootloader, use the following fuse settings:
| Fuse | Setting |
|---|---|
| Low | 0x5E |
| High | 0x99 |
| Extended | 0xC3 |
Customizing your PloopyCo Trackball Nano
You can find customziation options here.